
Instructions by Huni Hunfjord.
How to put together the Magravs on-grid Generator!
This instruction manual is for beginners and for those who have bought the (Magrav Starter Kit With Case) already nano coated and the four GANS bottles from the Keshe website.
Open the box and check if all the materials are in the box: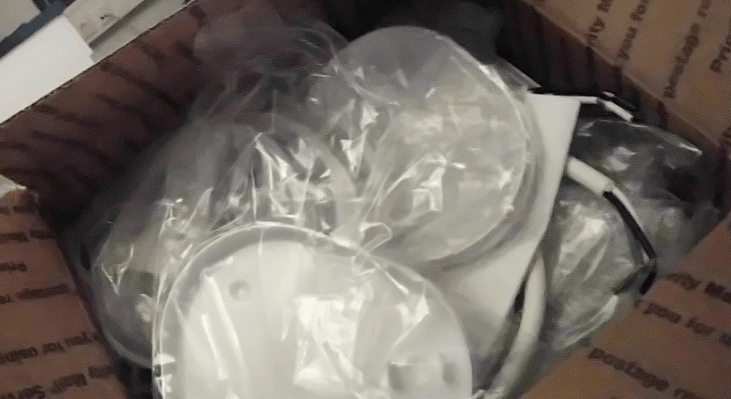
Nano coat the copper wires which do not come with the kit already nano coated, that should be at least one loop (on the left) and a loop with a connection at the end (on the right). The loop with the connected will be connected to the top coil, will be explained later.

Take natriumhydroxid, Sodium hydroxide or lye (NaOH) then add enough water to cover the copper. About a 1/4 of a cup and mix it with a little water. Close the bag and place somewhere warm, careful not to breath this stuff in or get it on your hands, use gloves and a mask.

Then place the bag inside of a container (ice-cream box in the picture) and leave it around 2-3 days in warm conditions.

After 2-3 days the copper should look like this, already nono coated.
 Find the GANS bottles, the coils, the trays for the coils and the empty GANS balls. The CH3 will be placed in bottom, the CO2 in the middle and the CuO on top.

Fill each ball with the GANS fluids and close the ball opening, using silicone. Mark each tray, with B = Bottom, M=Middle and T=Top.
Then use a brush to coat each coil with the GANS matching the fluid in the ball 
Take the rest of the GANS fluids and pour the three of them into a container and mix it together and let it try out until it gets thick enough to spread on baking paper. The drying might take about 24-36 hours, depending on the heat inside your house.

Take your capacitors, one at a time and pull the pins out to see how long they are and cut baking paper into pieces a little bit longer than the pins.
Four pins on each capacitor = 8 total = 8 pieces of baking paper to cover with the GANS thick mix. Cut it into pieces and roll it up around the pin and place it back into the capacitor.

When done with the first capacitor, then take the next one apart, this way you will put it together the right way again.

Now the capacitors are ready for assembly.

Now find the bottom piece of the casing and connect the loops like this picture. The Load is on the bottom or the pic and live wire on the top.

I had to cut each end to make the sides fit on the bottom piece.

Then place all the coils in the frame and connect them together.

The connection from the top coil comes into the loop connector you nano coated earlier. See the back side in this picture.

Congrats you now have a working Magravs on-grid power unit, charging a beard cutter the first day, light load, which we slowly move all the way up to 2.000 Watts load, eventually.

Thank you, with light and love, Huni Hunfjord. ❤❤
#Magrav #HuniHunfjord #Keshe #Generator #Assembly #WhereDidThatComeFrom #FamilyFirst #Instructions